
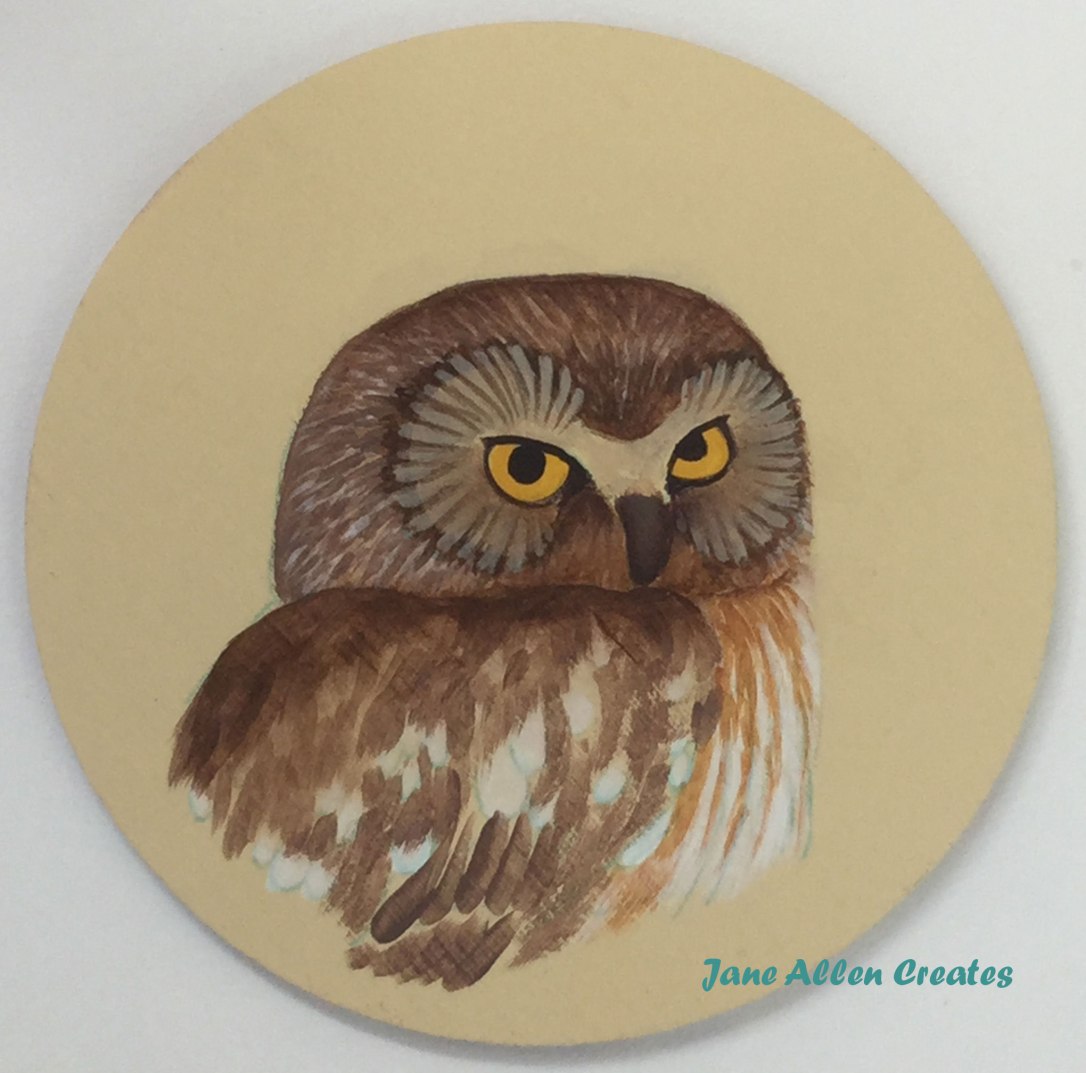
Saw-Whet Owl Step-by-Step:
Painting Tips:
- I like to add sheer layers when painting; it is easier to add more color than to take it away.
- Often when painting birds if there are markings that I would paint at the end, I also paint them on initially. This will give me the placement for the final details.
- When painting birds I do layers of strokes following the direction the feathers grow. I usually start with a small round or 2/0 liner on the first layer, then add the next layer with a smaller liner.
- I usually create my feathers with 2 layers and possibly some shading in between. If you are not happy with your feathers add another darker layer and then a lighter layer of feathers. If it is a dark area add a layer of lighter feathers and then a darker layer.
Note: I took pictures as I painted this owl, as I went along I changed some things which would not have required previous steps or the colors might be different. These changes are in step 1, but they might effect how the pictures look in the following steps. The colors and techniques are correct even if the color in the picture might not look right.

1. Paint white markings on feathers with Warm White on chest and wings. Paint iris of eyes Mustard Seed, pupils and around eyes with Soft Black, and beak Mississippi Mud. (yes it looks black because it is, I later painted it Mississippi Mud). Using 2/0 liner, paint across brow with Mississippi Mud following the feather growth.
Note: the beak was painted black in this picture, I later went back and changed it to Mississippi Mud. I also painted the head, you do not have to do this step. The brow was painted with a lighter color in the picture it should be Mississippi Mud.

2. Paint feathers around eyes using long strokes with 2/0 liner and Mississippi Mud. Stroke feathers on wings using small round brush, and float back and top of head with Mississippi Mud.

3. Float top of wing and around outside tips of larger feathers around eyes with Burnt Umber. When floating around feathers of eye start shading where feathers touch.

4. Add Honey Brown feathers to chest and chin. Stroke feathers over head with Mississippi Mud.

5. Paint feathers over head and down chest with Warm White. When painting the feathers on the head they should not be solid, you should still be able to see the darker underneath feathers.

6. Go over head painting feathers with Mississippi Mud, allowing some of the lighter feathers to show through. Shade back of head, top of wing and above brow with Burnt Umber. Add Burnt Umber feathers above brow. At outer tips of larger feathers around eyes add small strokes/dots of Burnt Umber with tip of 10/0 liner.

7. Over stroke larger feathers around eyes with Burlap and line between them with Burnt Umber. Shade nose with Burnt Umber and strengthen with Soft Black. Float under eyes with Burnt Umber.
8. Dry brush highlight on nose with crescent brush and Burlap. Brush mix Warm White + Mustard Seed and paint curved line on each iris on lower left. Add Warm White highlight on right of each eye and put three Warm White dots on lower left of each eye using tip of 10/0 liner brush. Using 10/0 liner brush and Warm White paint small strokes/dots around outside edges of longer feathers around eyes.

9. Using Oyster Beige and 10/0 liner paint strokes in center of feathers around the eyes. Stroke Oyster Beige feathers over brow, down over nose and in corner of eyes.

10. Wash over wing with Mississippi Mud, then stroke on white markings on wings with Warm White. Reinforce shading on back of wing, under nose and chin with Burnt Umber. Shade inside corners of eyes with Soft Black. Add a few Warm White feathers on chin and chest.
