
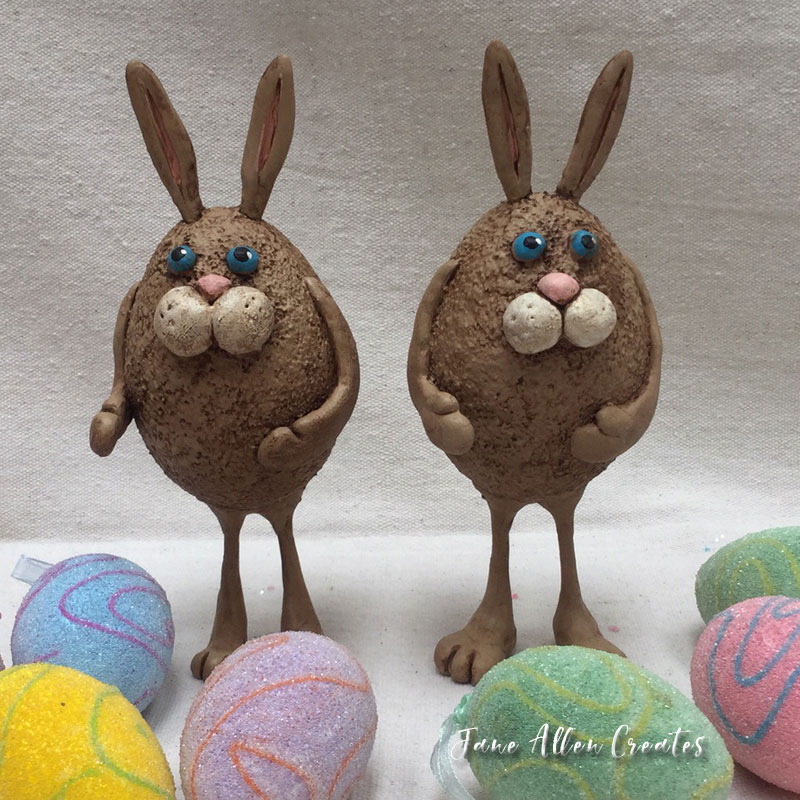
Well I guess if we are going to have “Egg Peeps” for Easter we need to have an “Egg Bunny”. For this bunny we are using a 4″ Styrofoam egg, dowel sticks and Quikwood. To make it easy for you the project steps are demonstrated through a series of how-to videos.
Before getting started you will want to review the video on using Quikwood if you are not familiar with it or how to use it.
When working on projects with Quikwood it is good to let the Quikwood cure between steps. That is why we will be moving back and forth between different areas.
To make a bunny you will need:
- 4″ Styrofoam egg
- 2 – 3 1/4″ dowel sticks (3/16″ or 1/4″)
- 2 tooth picks
- Quikwood
- basic sculpting and painting supplies
To start you will add the legs to the egg”
Since the ears have to cure before adding them you will want to create them next.
Now we are going to add the face to our bunny:
If you want to have something in your bunny’s arms you will want to create it first and give it time to cure.
Adding the arms:
Finishing your bunny:
Once everything was set I added DecoArt MagiKote to the Styrofoam following the manufacturers directions. I added three coats allowing it to dry between coats.

You can paint your bunny any color you want. I used the following DecoArt colors for mine:
- Body – Fawn
- Nose and inside ears – Cotton Candy
- Eyes – Turquoise, Soft Black, Snow White
- Tail and cheeks – Light Buttermilk

I then sprayed them with a coat of DecoArt Matte spray sealer.
I mixed Burnt Umber with DecoArt Antiquing medium to antique them. When it was dry I sprayed with another coat of sealer.


I hope you will enjoy creating this fun egg bunny.
Happy Creating
Jane
Just makes me hoppy! 😉
Thank You Charlotte, you always seem to be hoppy 🙂 and that is a good thing 🙂
Oh so cute. Thanks for the instructions.
you are welcome Inez, enjoy!
Oh Jane, I just love him….Hoppy Easter to You….
Thank you Linda, Hoppy Easter to you too
Jane, these are adorable! Thank you for introducing me to so many different products,Quikwood is now on my list 🙂
Thank you Effie, it is really fun and you can do so much with it.